Mastering Unique Custom Engraved Bible Highlighting Techniques
- Joy Creative Bibles

- Feb 24
- 4 min read
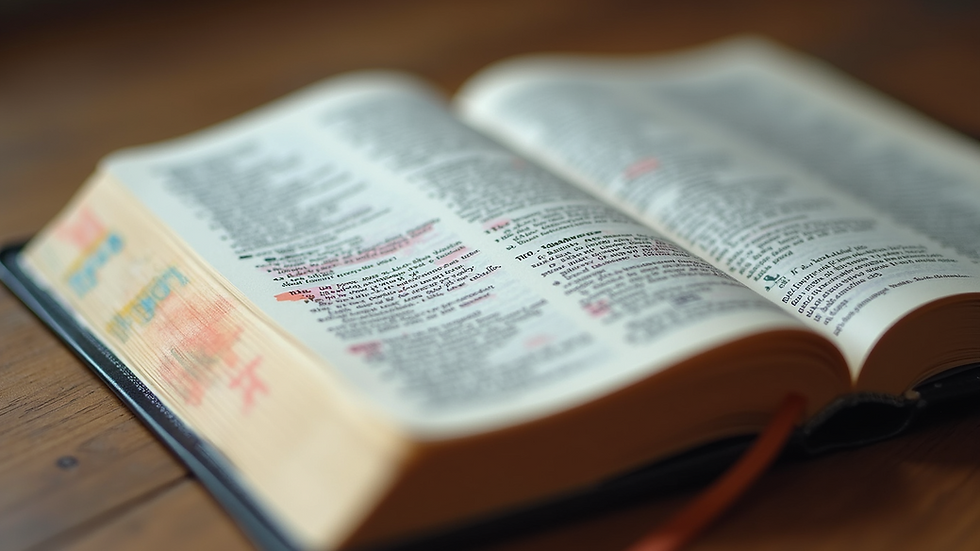
Custom engraving on the Bible offers a beautifully personal touch, allowing believers to connect more closely with their sacred text. Whether for a gift, a personal keepsake, or a unique form of spiritual expression, customized engravings can bring added depth and meaning to the pages. In this post, we will explore techniques that transform your Bible into a unique masterpiece while enhancing your highlighting experience.
The Beauty of Custom Engraving
Custom engraving goes beyond mere decoration; it serves as a powerful tool for personal reflection and engagement with the word. From quotes that inspire to symbols that hold personal significance, the options are seemingly endless.
Engraving techniques allow you to personalize your Bible in a way that speaks to your heart and faith. This is not just about aesthetics; it’s about creating a connection with the text. Imagine flipping through the pages and seeing a verse highlighted and accompanied by a personal note or symbol. This adds a dynamic layer to your reading experience.
Choosing the Right Bible for Engraving
Not all Bibles are created equal, and selecting the right one for custom engraving is essential. Consider the following factors:
Material Quality: Leather-bound Bibles offer a luxurious feel and durability for engraving. They age beautifully, adding character over time.
Font Style: Ensure that the font used for the engraving complements the Bible's overall design and readability. Bold, serif fonts often create a classic look.
Size and Layout: A larger Bible provides more space for intricate designs, while a compact version may be easier to carry but limits customization options.
Choosing wisely allows you to craft something that is both functional and meaningful.
Highlighting Techniques to Combine with Engraving
Once you’ve selected the perfect Bible, it’s time to explore highlighting techniques that pair well with engraved elements. Here are some fantastic options:
1. Color-Coding
Using different colored highlighters helps categorize themes or emotions tied to specific passages. For example, use:
Yellow for Faith: Mark verses that speak about faith and trust in God.
Blue for Love: Highlight scriptures that emphasize love and compassion.
Green for Creation: Use green for verses that discuss nature and God’s creation.
This organized method not only beautifies your Bible but also makes it easier to find passages related to key themes.
2. Marginal Notations
When you engrave a particular verse, complement it by adding personal notes or reflections in the margins. This creates a dialogue between the engraving and your thoughts.
For instance, if you've highlighted Psalm 23 and engraved it, write down your thoughts or memories related to that verse beside it. This adds context that future readers, perhaps even your children or grandchildren, will appreciate.
3. Illustration and Doodles
If you have an artistic flair, why not sketch some simple illustrations around your highlighted passages?
A small illustration of a shepherd for Psalm 23 or tiny flowers next to a verse about creation makes the page visually engaging. Always keep your doodles simple to maintain the focus on the text.
4. Symbolic Highlights
Highlight specific phrases or words that resonate with you using symbols. For example, you can underline the word “love” with a heart symbol, adding depth to the emotion.
Incorporating engravings and symbols creates a collage of faith elements that make your Bible feel uniquely yours.
The Process of Engraving Your Bible
Now that you’re inspired by highlighting techniques, let’s delve into how to go about the engraving process. Here’s a step-by-step guide:
Step 1: Select Your Engraving Shop
Research local or online engraving services that specialize in Bibles. Check reviews, portfolio samples, and the quality of their materials.
Step 2: Choose Your Design
Decide what quote, name, date, or symbol you would like to engrave. Sketch a rough idea if needed, and present it to the engraver for professional input.
Step 3: Verify Options
Ensure that you can choose the font and placement of the engraving. A touch on the spine, or perhaps on the front cover, could make all the difference.
Step 4: Place Your Order
Once everything is decided, place your order and wait for the magic to happen. Excitement will build as you anticipate the arrival of your newly customized Bible.
Caring for Your Engraved Bible
Once your Bible has been engraved and highlighted, proper care is essential to maintaining its beauty:
Avoid Excessive Moisture: Keep your Bible in a dry place to prevent damage to both the paper and the engraving.
Use a Protective Cover: Consider using a protective cover for your Bible to shield it from wear and tear.
Keep Away from Sunlight: Prolonged exposure to sunlight can fade both the text and any additional highlighting.
Taking these steps ensures your Bible remains a cherished item for years to come.
Conclusion
The journey of custom engraving and highlighting your Bible is about making your spiritual experience personal and visually appealing. From selecting the perfect piece to utilizing unique highlighting techniques, every choice contributes to an expressive product.
Imagine passing down your custom engraved Bible to future generations, filled with highlights and personal reflections that capture your relationship with faith. So go ahead, unleash your creativity, and breathe new life into your Bible!
Now it's time to dive into your own selection, personalize your Bible, and start marking those pages with meaning and love!


Comments